In honor of the 169th birthday of San Mateo County, the Historical Association is joining with San Mateo County to celebrate the county’s start and the dedication of 500 County County Center, the County’s new office building.

The event will start at the History Museum with the Woodside High School band. Reenactors will share the story of the county’s beginnings, as told by “Horace Hawes.” Called the Father of San Mateo County, Hawes introduced the Consolidation Act in the state legislature. Passed in 1856, the act consolidated the city and county government of San Francisco and formed the new San Mateo County.

The new office building at 500 County Center

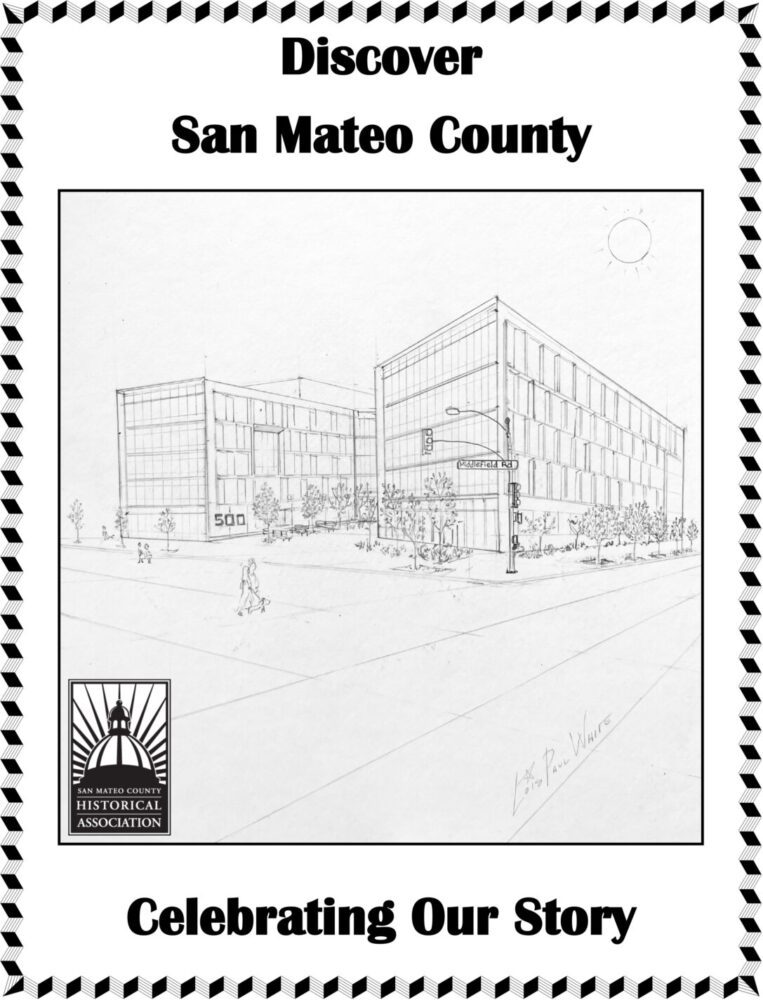
After the reenactment, the band will lead the group to 500 County Center for a dedication ceremony. Following the ceremony, see the lobby and board chambers of the new building. Outside, explore the county’s past with kids crafts presented by the History Museum. A new children’s activity book, Discover San Mateo County: Celebrating Our Story, will be available. Live music will be provided by DJ John Beaver.

Hands-On Activities


  • Design your own model ship
  • Make a deputy sheriff’s badge
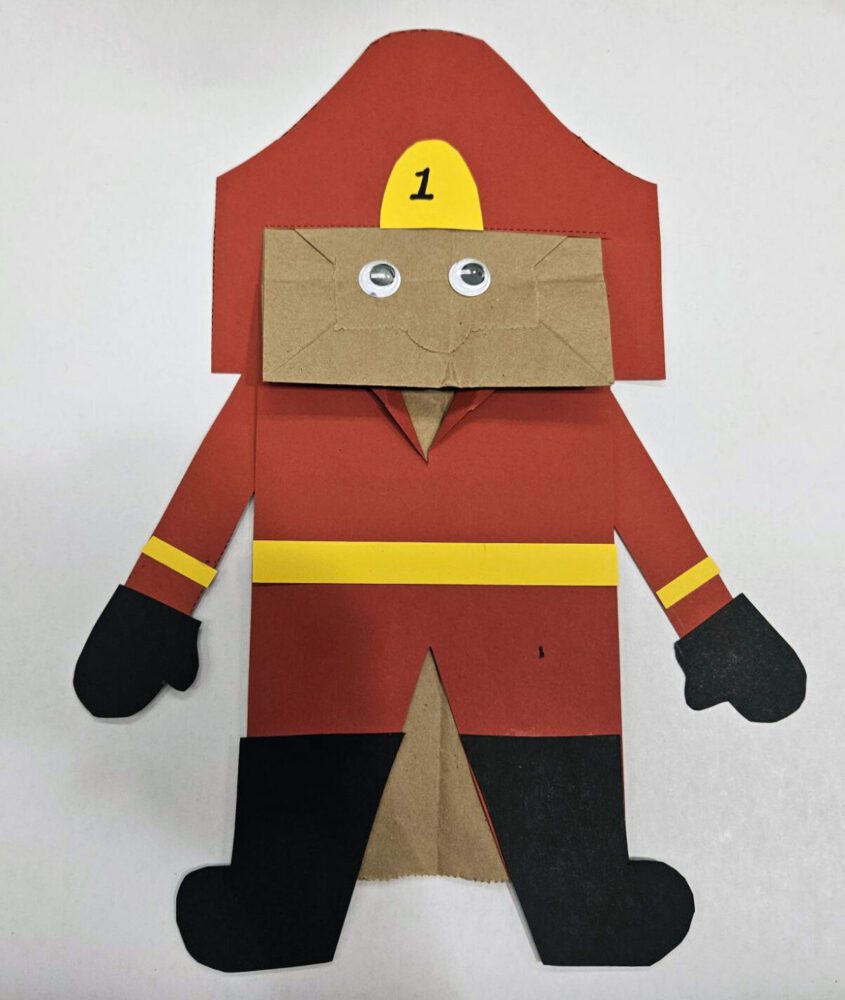
  • Create a firefighter puppet
  • And more!

Activity Book

Partygoers will receive the new children’s activity book, Discover San Mateo County: Celebrating Our Story. Click here for online version.


Click here for an online version of Discover San Mateo County in the 1850s.

Click here for an online version of Discover San Mateo County in the 1900s.

Click here for an online version of Discover San Mateo County in the 1910s.

Click here for an online version of Discover San Mateo County in the 1940s.

Click here for an online version of Discover San Mateo County in the 1950s.

Cover of the activity book Discover San Mateo County Celebrating Our Story
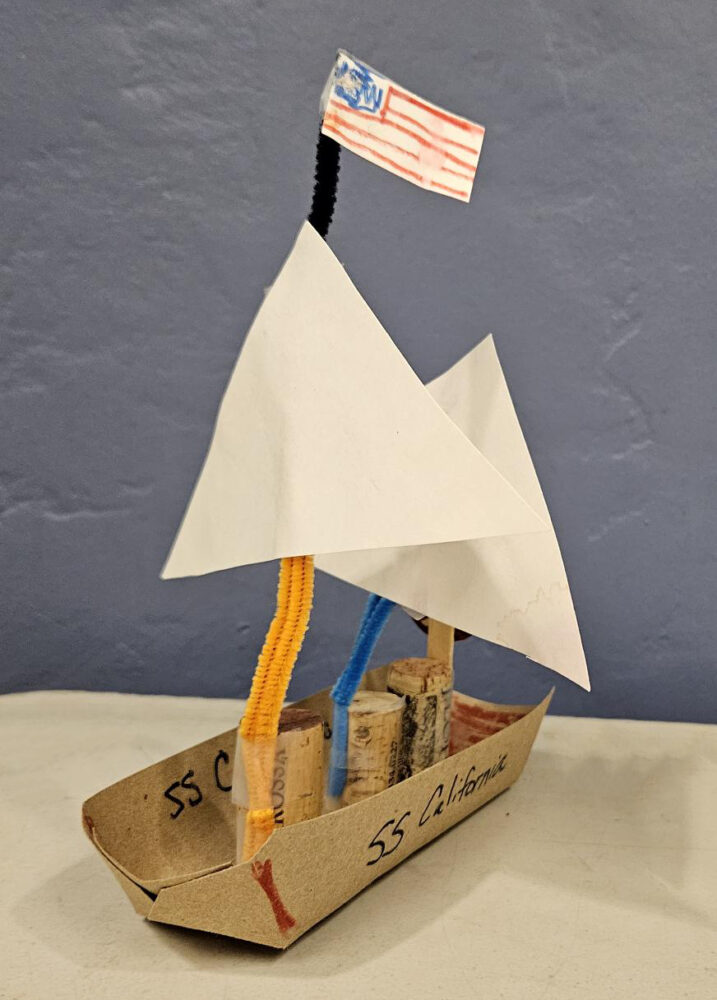
Model ship made out of corks, paper and pipe cleaners

Ship

In the early 1850s, Redwood City became one of the largest cities on the Peninsula due to the Port. From the Port, natural resources such as redwood were shipped to San Francisco.  In part because of the larger population of the city, in 1856, Redwood City was selected as the County seat.

Materials

  • Hot dog tray or small rectangle piece of cardboard
  • Pipe cleaners
  • Paper of various colors
  • Scissors
  • Markers
  • Glue
  • Tape
  • Corks, beads and other material for decoration

Directions

  1. Use the hot dog tray for the hull of the ship. The scow schooners that came into the early Port of Redwood City were flat-bottomed ships.
  2. Use the materials to add sails to your ships. One option for a sail is to glue a cork inside the hot dog tray. Tape or glue a pipe cleaner to the cork. Cut out a white piece of paper in a triangle shape and tape or glue to the pipe cleaner.
  3. Using the additional materials, decorate your ship. Make sure to give it a name.
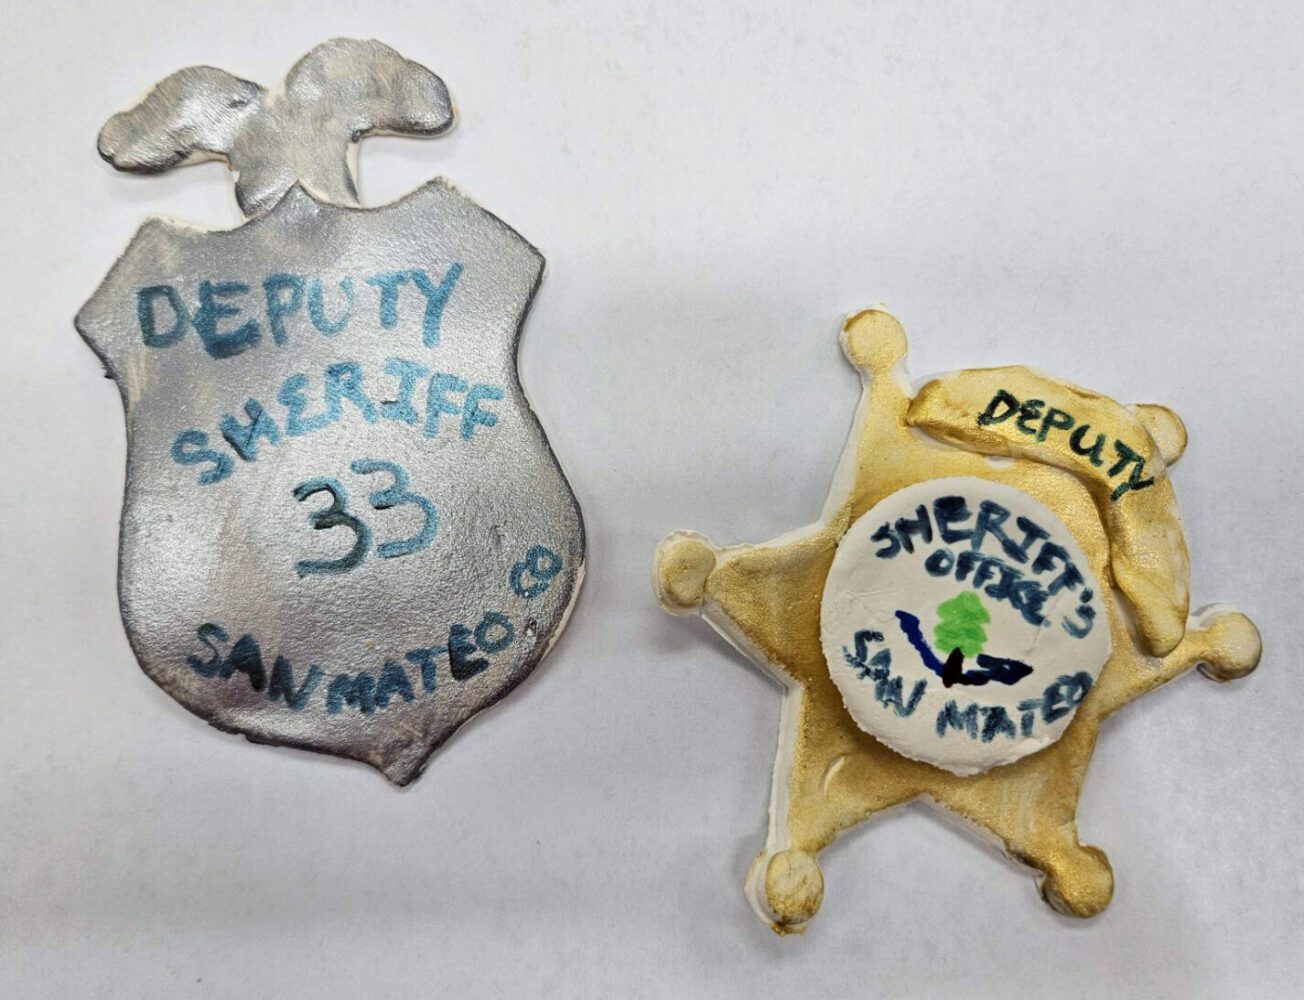
Deputy Sheriff badges made out of clay

Deputy Sheriff Badge

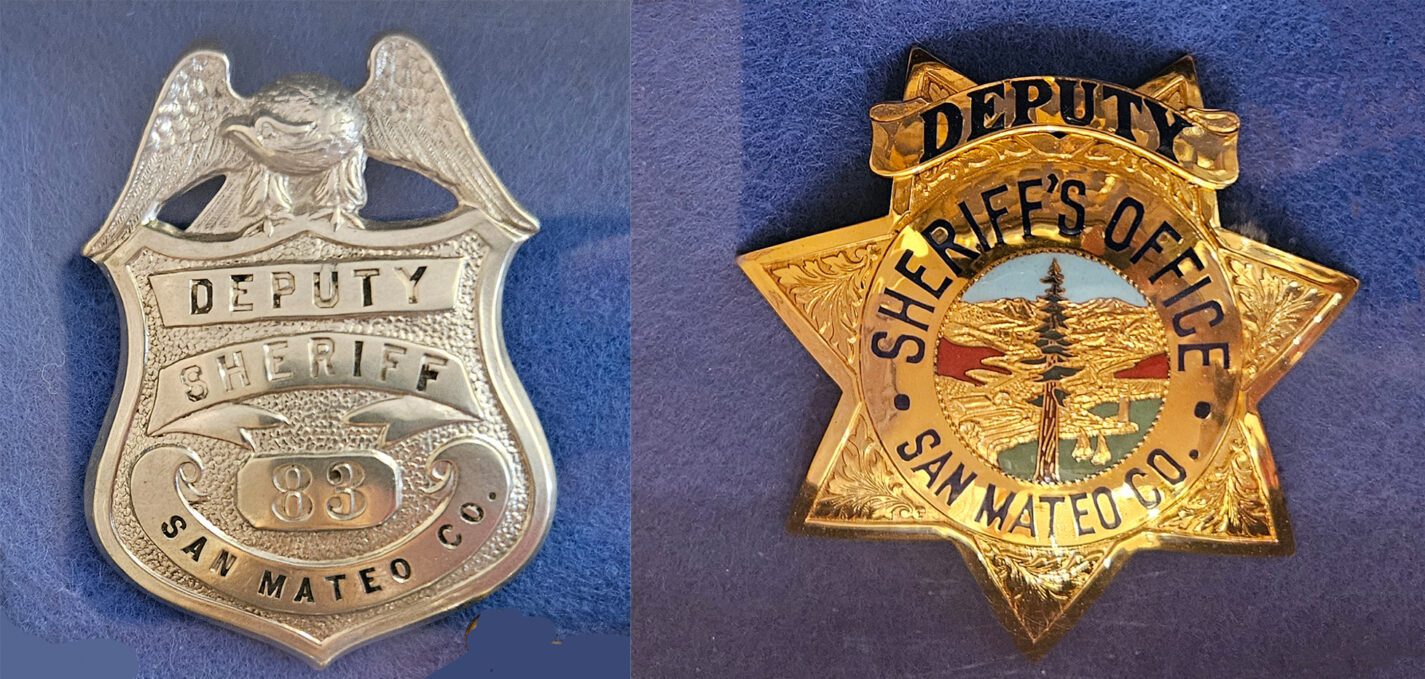
Over the years, there have been many different designs for badges in the San Mateo County Sheriff’s Office. Some of them can be seen in the Walter Moore Badge Collection at the San Mateo County History Museum.

Materials

  • Model Magic (or playdough)
  • Rolling pin or glass
  • Badge Templates
  • Scissors
  • Plastic knife
  • Markers or washable tempera paint

Directions

  1. Print and cut out the badge templates.
  2. Roll out a chunk of Model Magic using a rolling pin or a glass.
  3. Lay one of the badge templates on the Model Magic. Use the plastic knife to cut out the basic shape of the badge.
  4. Use extra Model Magic to add details to the badge.
  5. Use markers or paint to add details to the badge.
One silver and one gold Deputy Sheriff of San Mateo County badge
Firefighter puppet dressed in a red uniform and helmet

Firefighter Puppet

In 1887, the San Mateo County Board of Supervisors appointed a Fire Commission to protect the natural resources found throughout the County. Today, the San Mateo County Fire Department provides fire protection for most unincorporated areas in San Mateo County.

Materials

  • Paper lunch bag (templates based on brown bag #4)
  • Firefighter templates
  • Scissors
  • crayons
  • glue stick
  • wiggle eyes (optional)

Directions

  1. Print firefighter templates.
  2. Cut out and color the different parts including body, helmet, arms, helmet decoration, boots and gloves.
  3. On the body section, make sure the triangle at the bottom is cut out.
  4. Cut the dotted line at the top of the body section. Fold back the edges of the cut to create the “collar” of the uniform.
  5. Glue the body section on the side of the bag. The “uniform” should fit under the flap of the bag.
  6. Bend the helmet so you can cut along the dotted line of the helmet.
  7. The bottom of the bag is the “head” of the puppet. Put glue along the top edge of the head. Ship the helmet over the head and glue to the bag.
  8. Glue the helmet decoration to the middle of the helmet.
  9. Glue the arms to the sides of the puppet.
  10. Glue the gloves on to the bottom of the arms.
  11. Glue the bottoms on to the bottom of the legs.
  12. Cut and color strips of paper. Glue to the puppet for decoration.
  13. Wiggle eyes can be used for eyes. (optional)
  14. Use markers to add decorations.

Free Material Kits

Not able to come to the event? A limited number of FREE material kits are available. Please note, you do not need to register for a material kits if you are intending to attend the event in person. Email education@historysmc.org to request a kit. Limit 3 kits per family.

Museum Activities Sponsored By

Redwood City Arts Commission Logo
Port of Redwood City Logo